

Zebra Midge
Tying the Zebra Midge
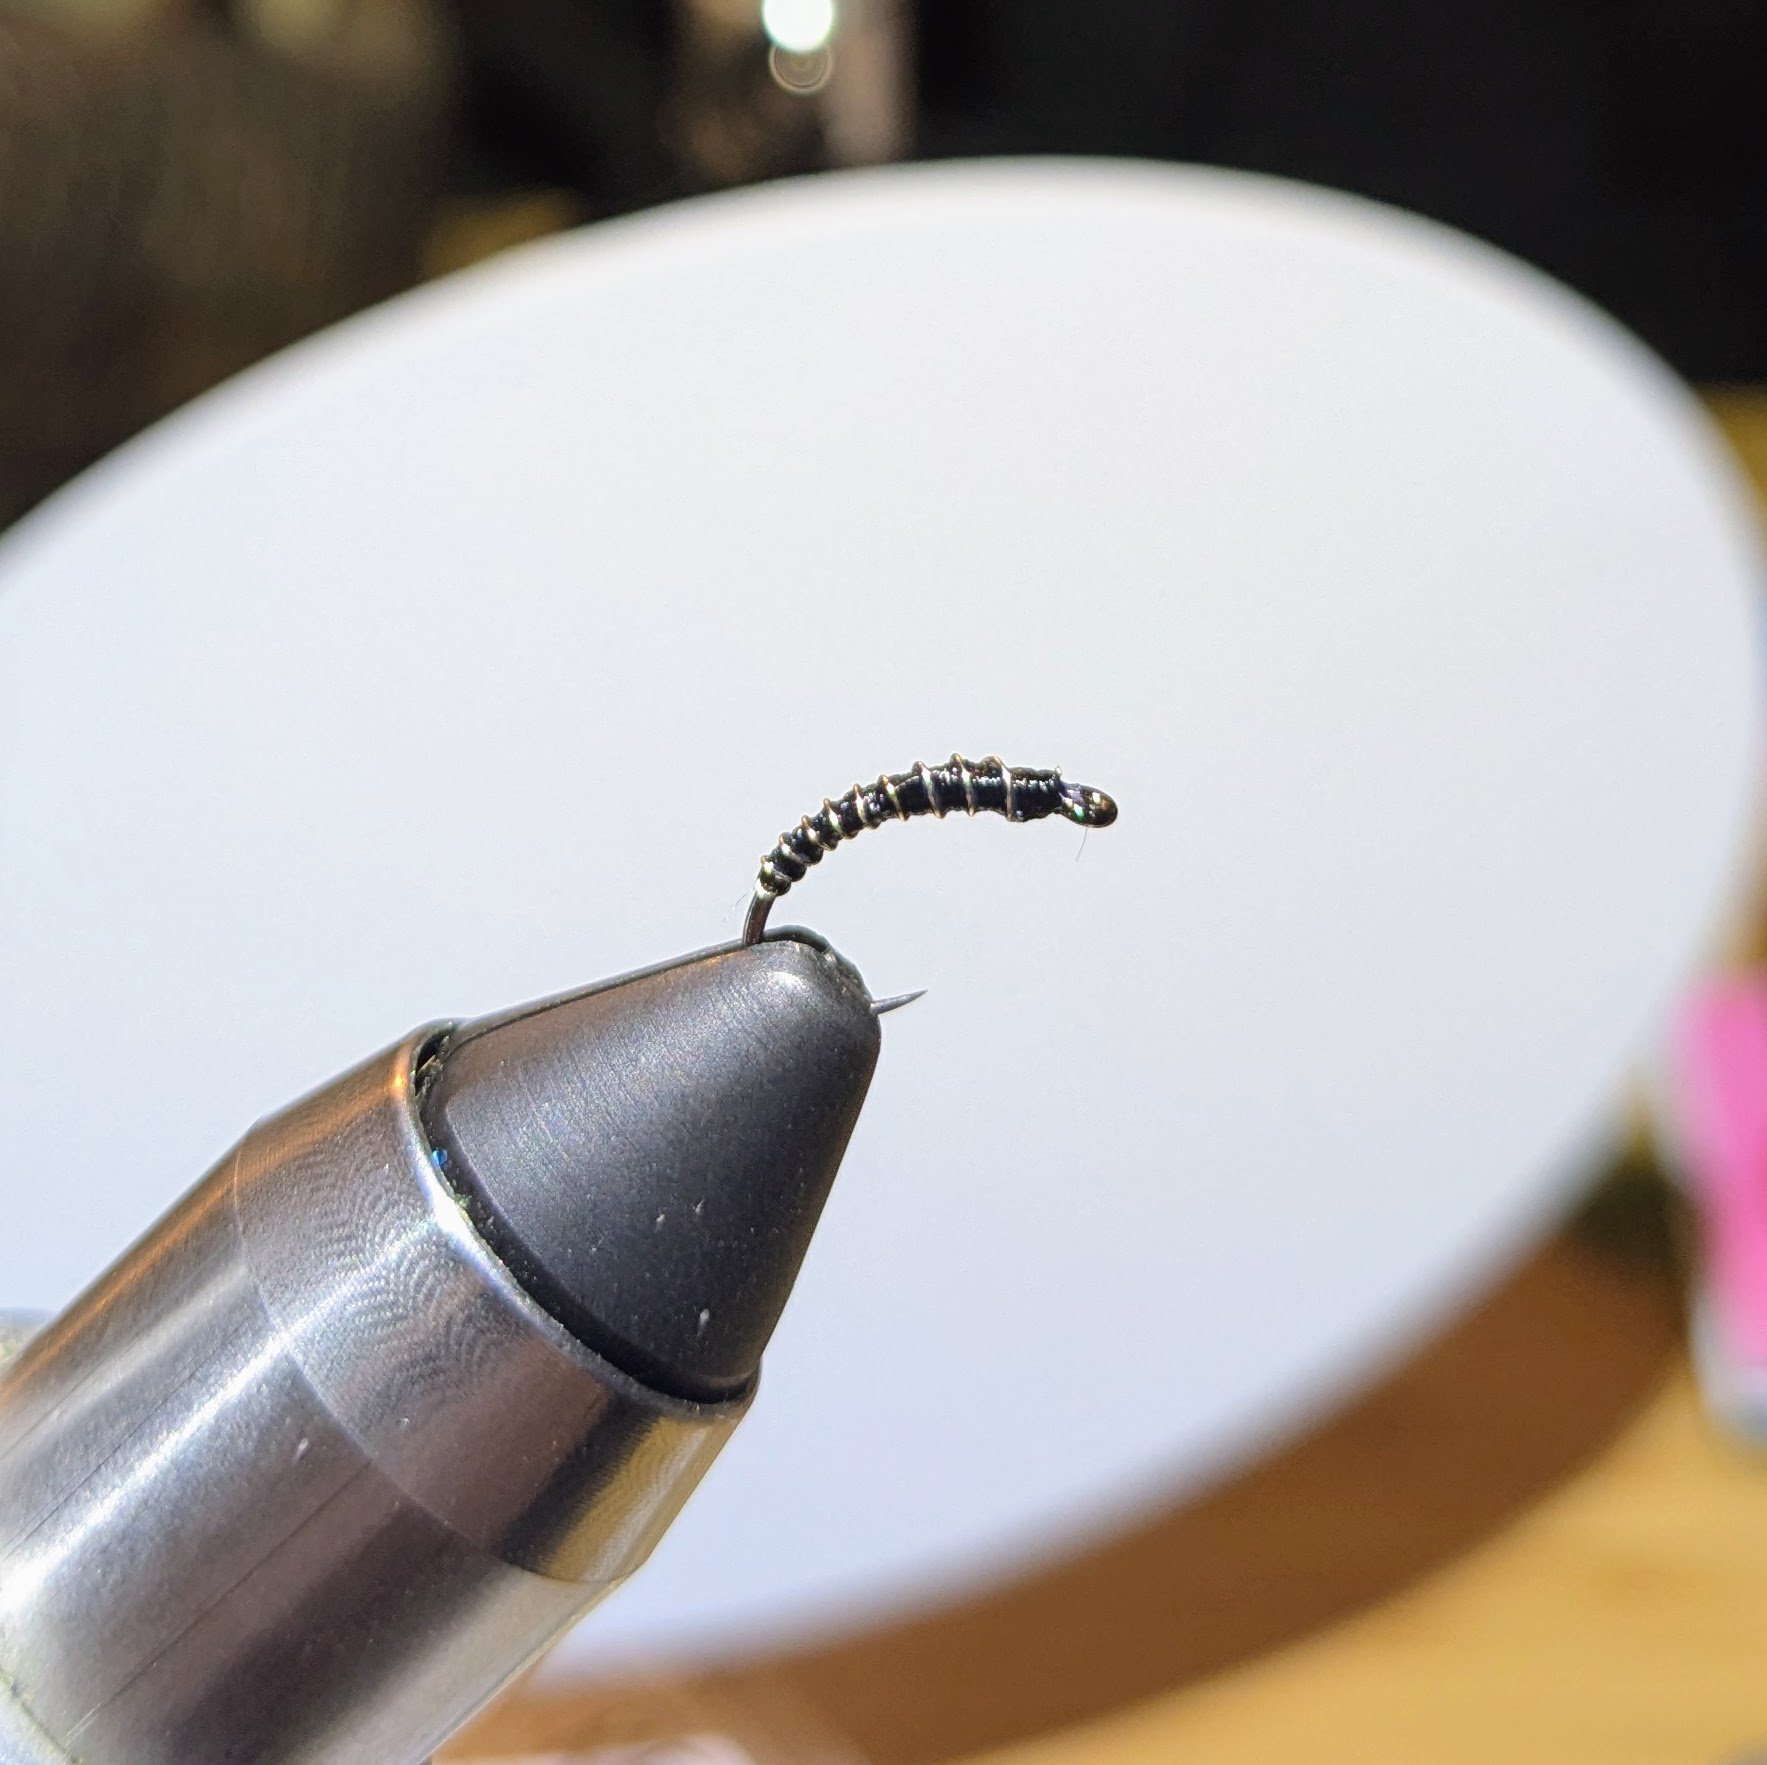
The Zebra Midge is a staple pattern in the fly angler’s box, known for its simplicity, versatility, and effectiveness. Whether you’re fishing tailwaters, stillwaters, or freestone streams, the Zebra Midge is an excellent choice, especially when fish are feeding on midge larvae and pupae. At Spring Creek Fly Fishing, we’re passionate about helping you tie high-quality flies that perform well on the water. Here’s a straightforward guide to tying the classic Zebra Midge.
Materials Needed
Hook: Size 18-24, standard nymph hook or scud hook
Thread: Black or red, 8/0 or 70 denier
Bead: Optional – small tungsten or brass bead in silver, black, or red (adds weight and flash)
Body: Fine silver or copper wire (for ribbing)
Thread Body: Red or black thread to form the main body
Cement: Head cement or UV resin to finish and protect the fly
Step-by-Step Tying Instructions
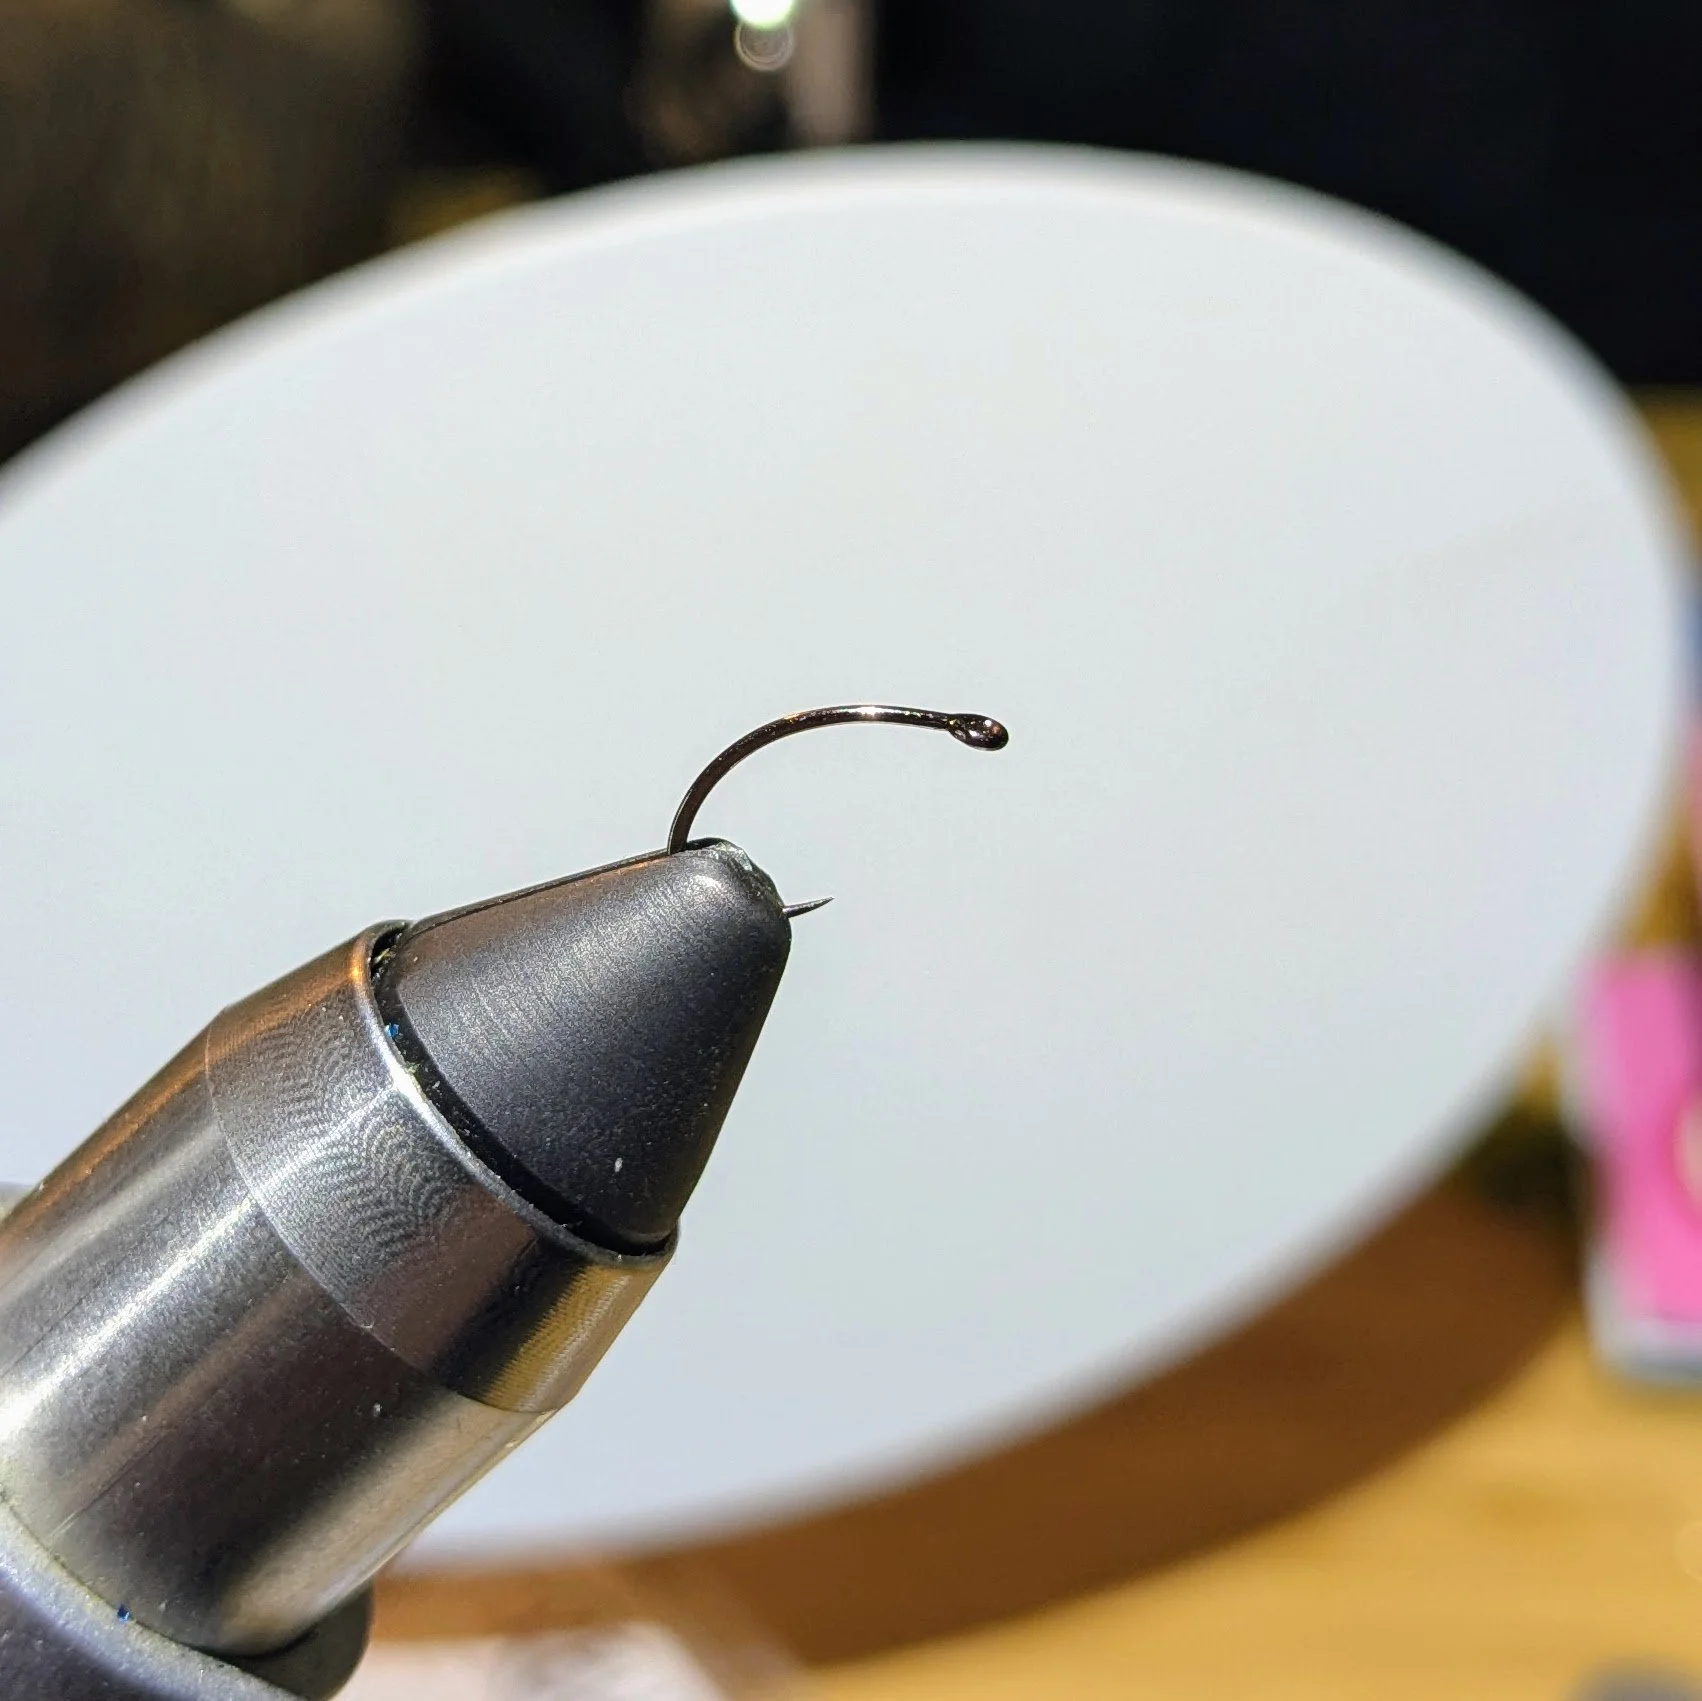
Preparation
Start by placing your hook in the vise. If you’re using a bead, slide it onto the hook before securing it in the vise.
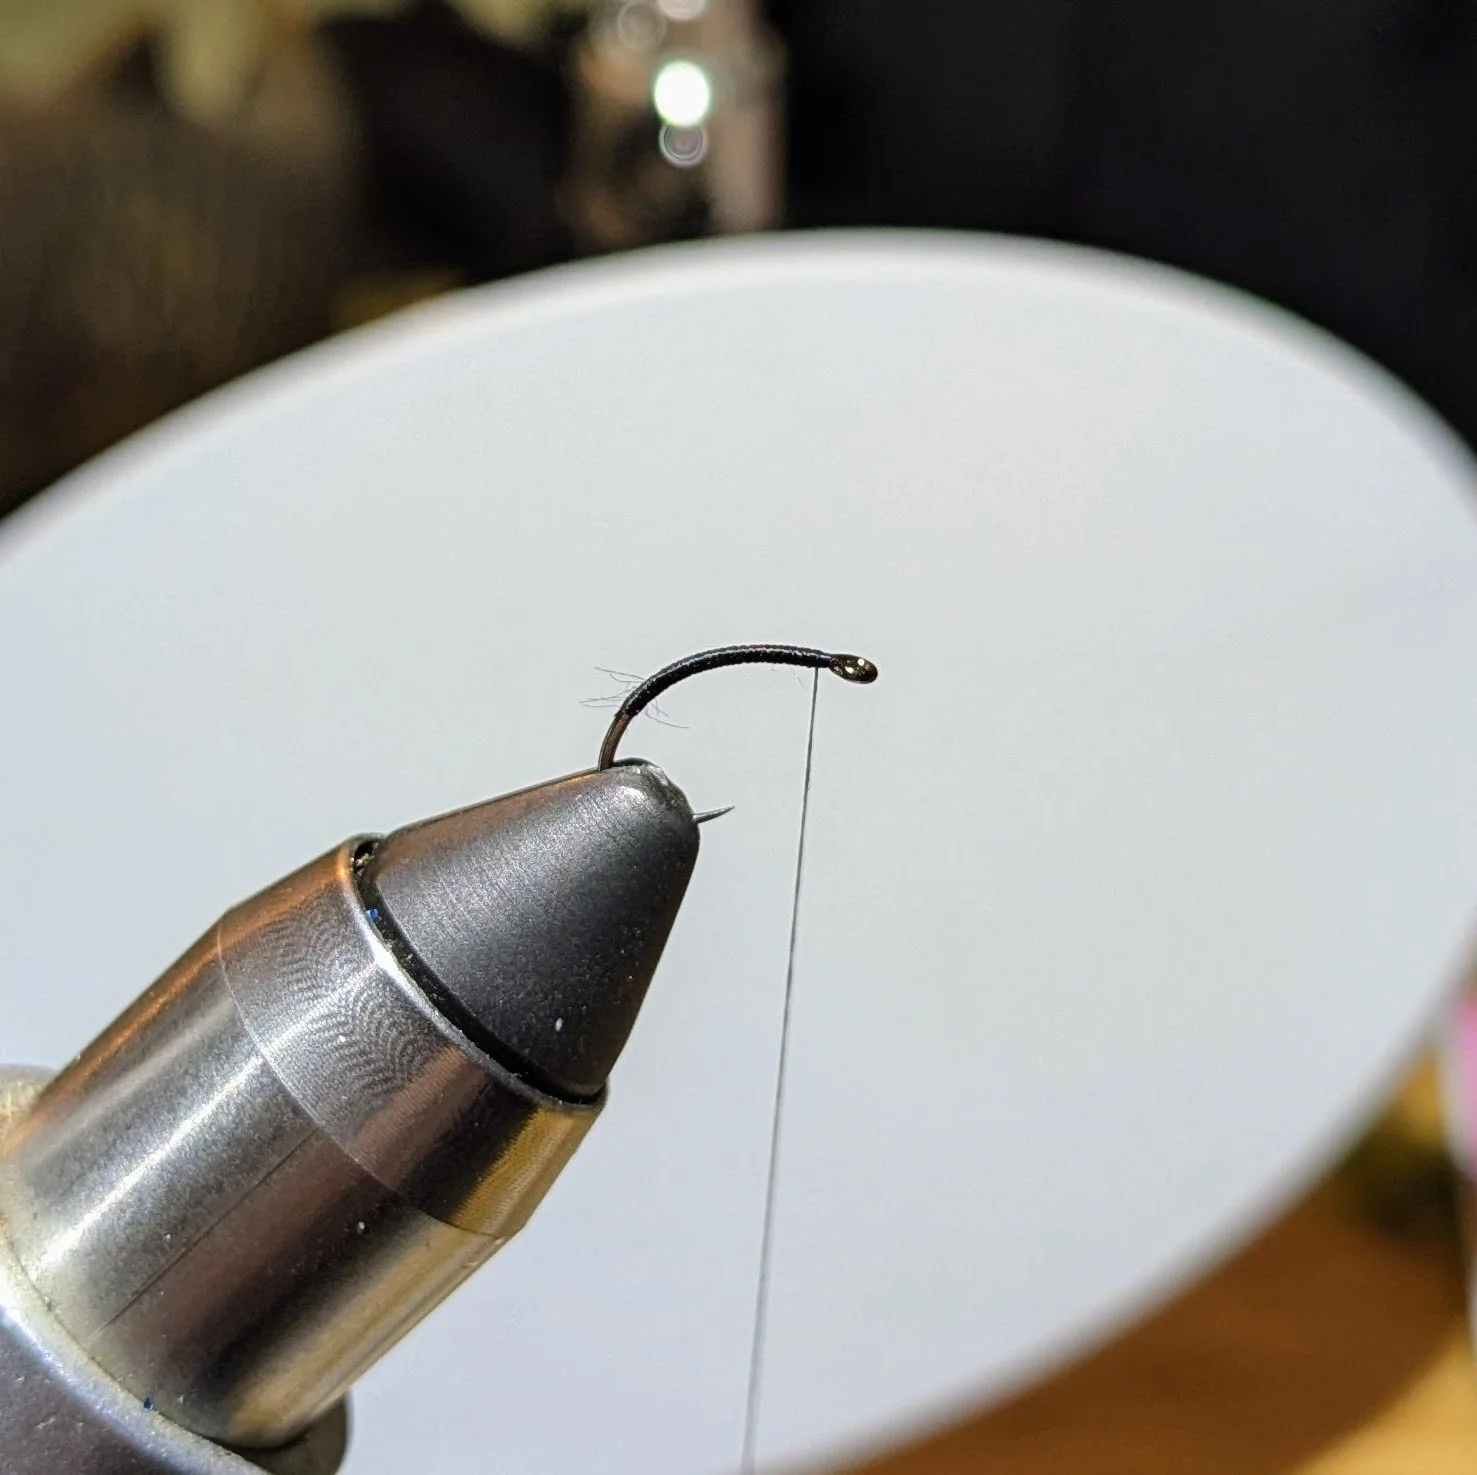
Thread Base
Attach your thread just behind the hook eye. Wrap a smooth, even base down to the bend of the hook, covering the shank completely.
Forming the Body
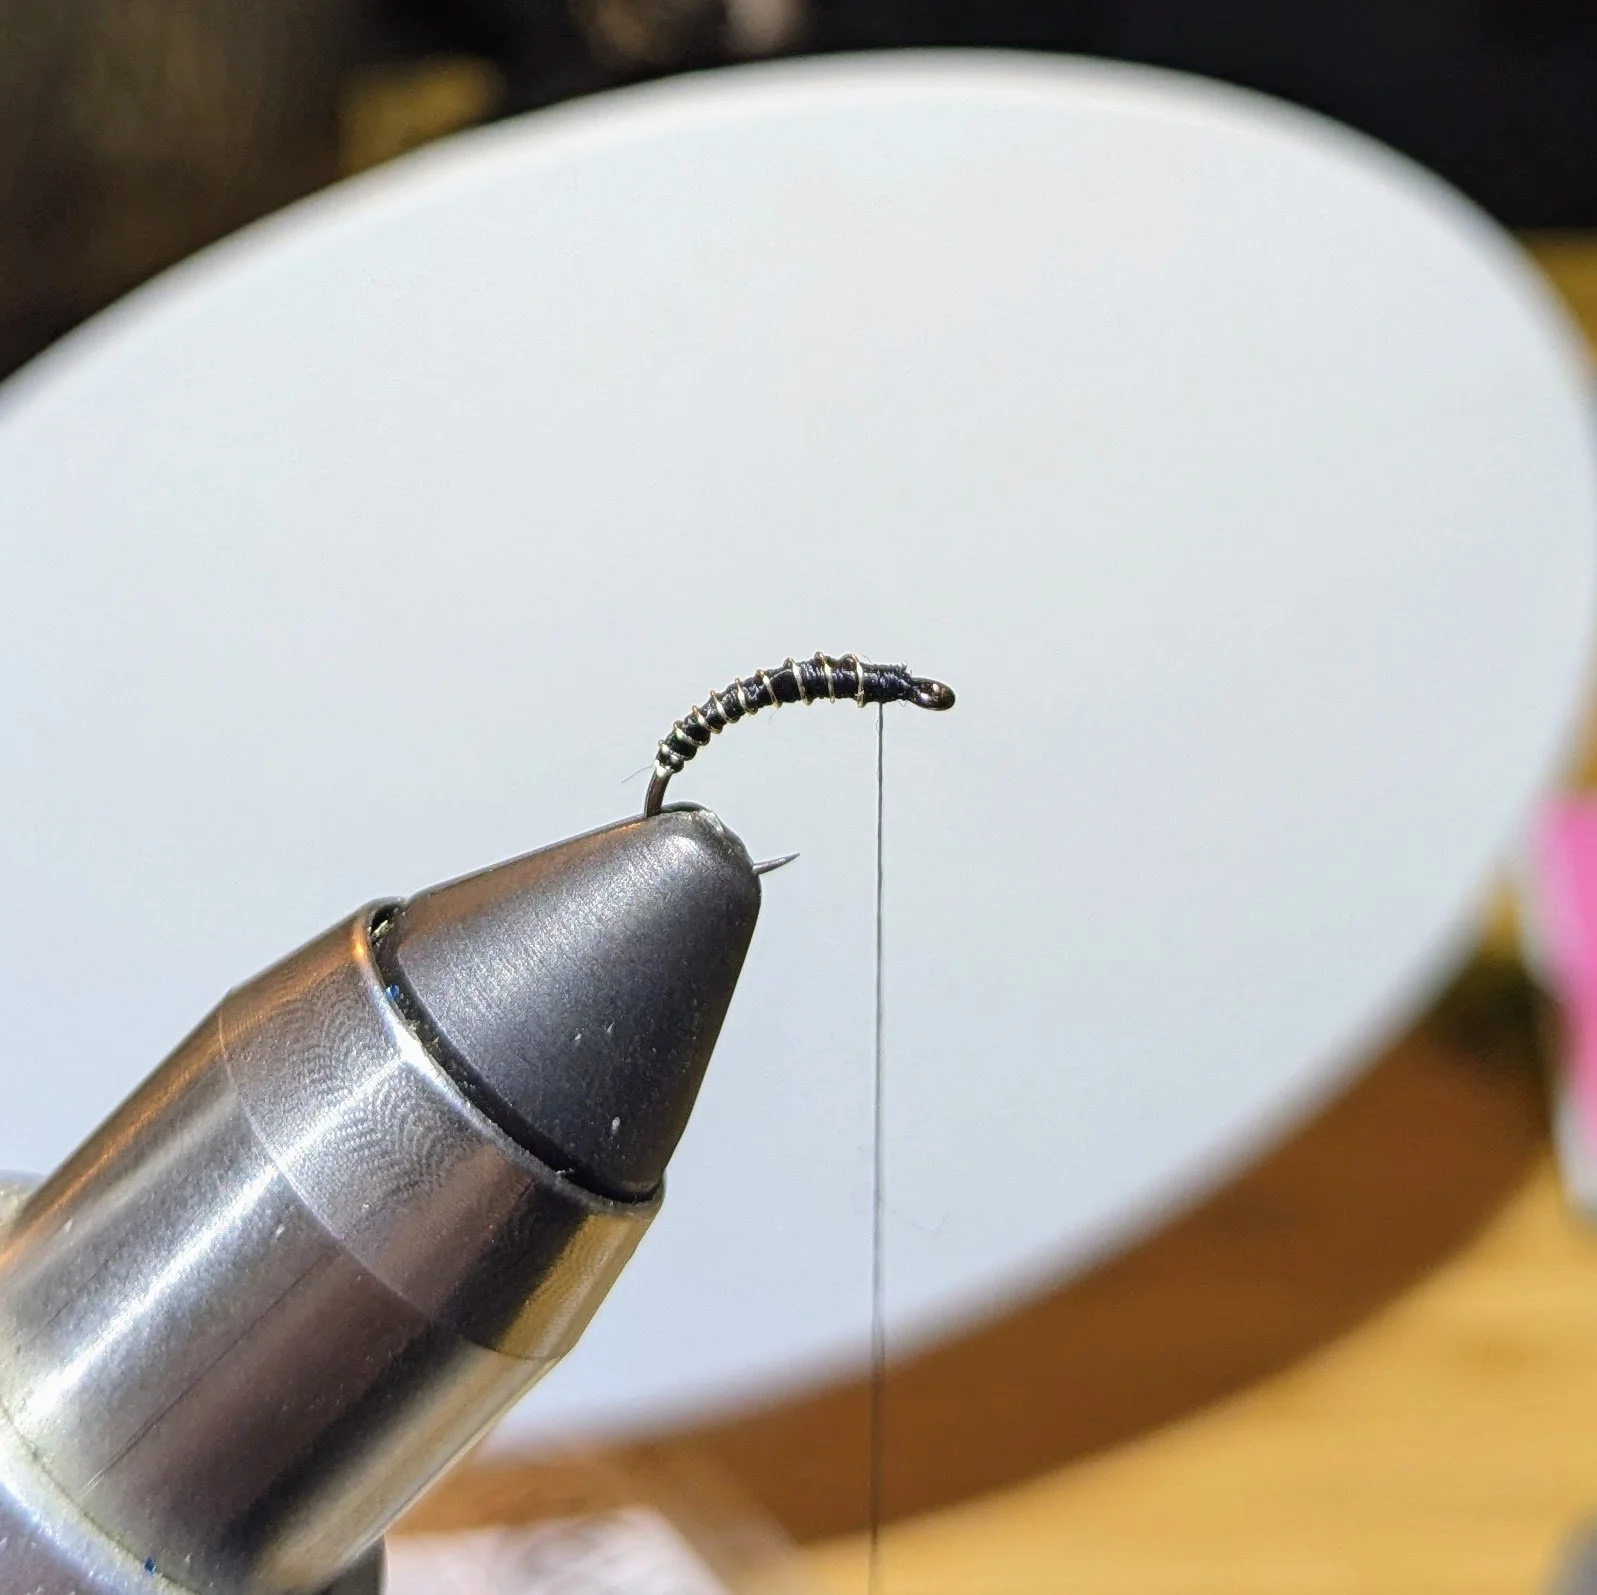
Using your thread, build up a slender, tapered body toward the bead or hook eye. Keep the body smooth and even—this is key to the fly’s natural look.
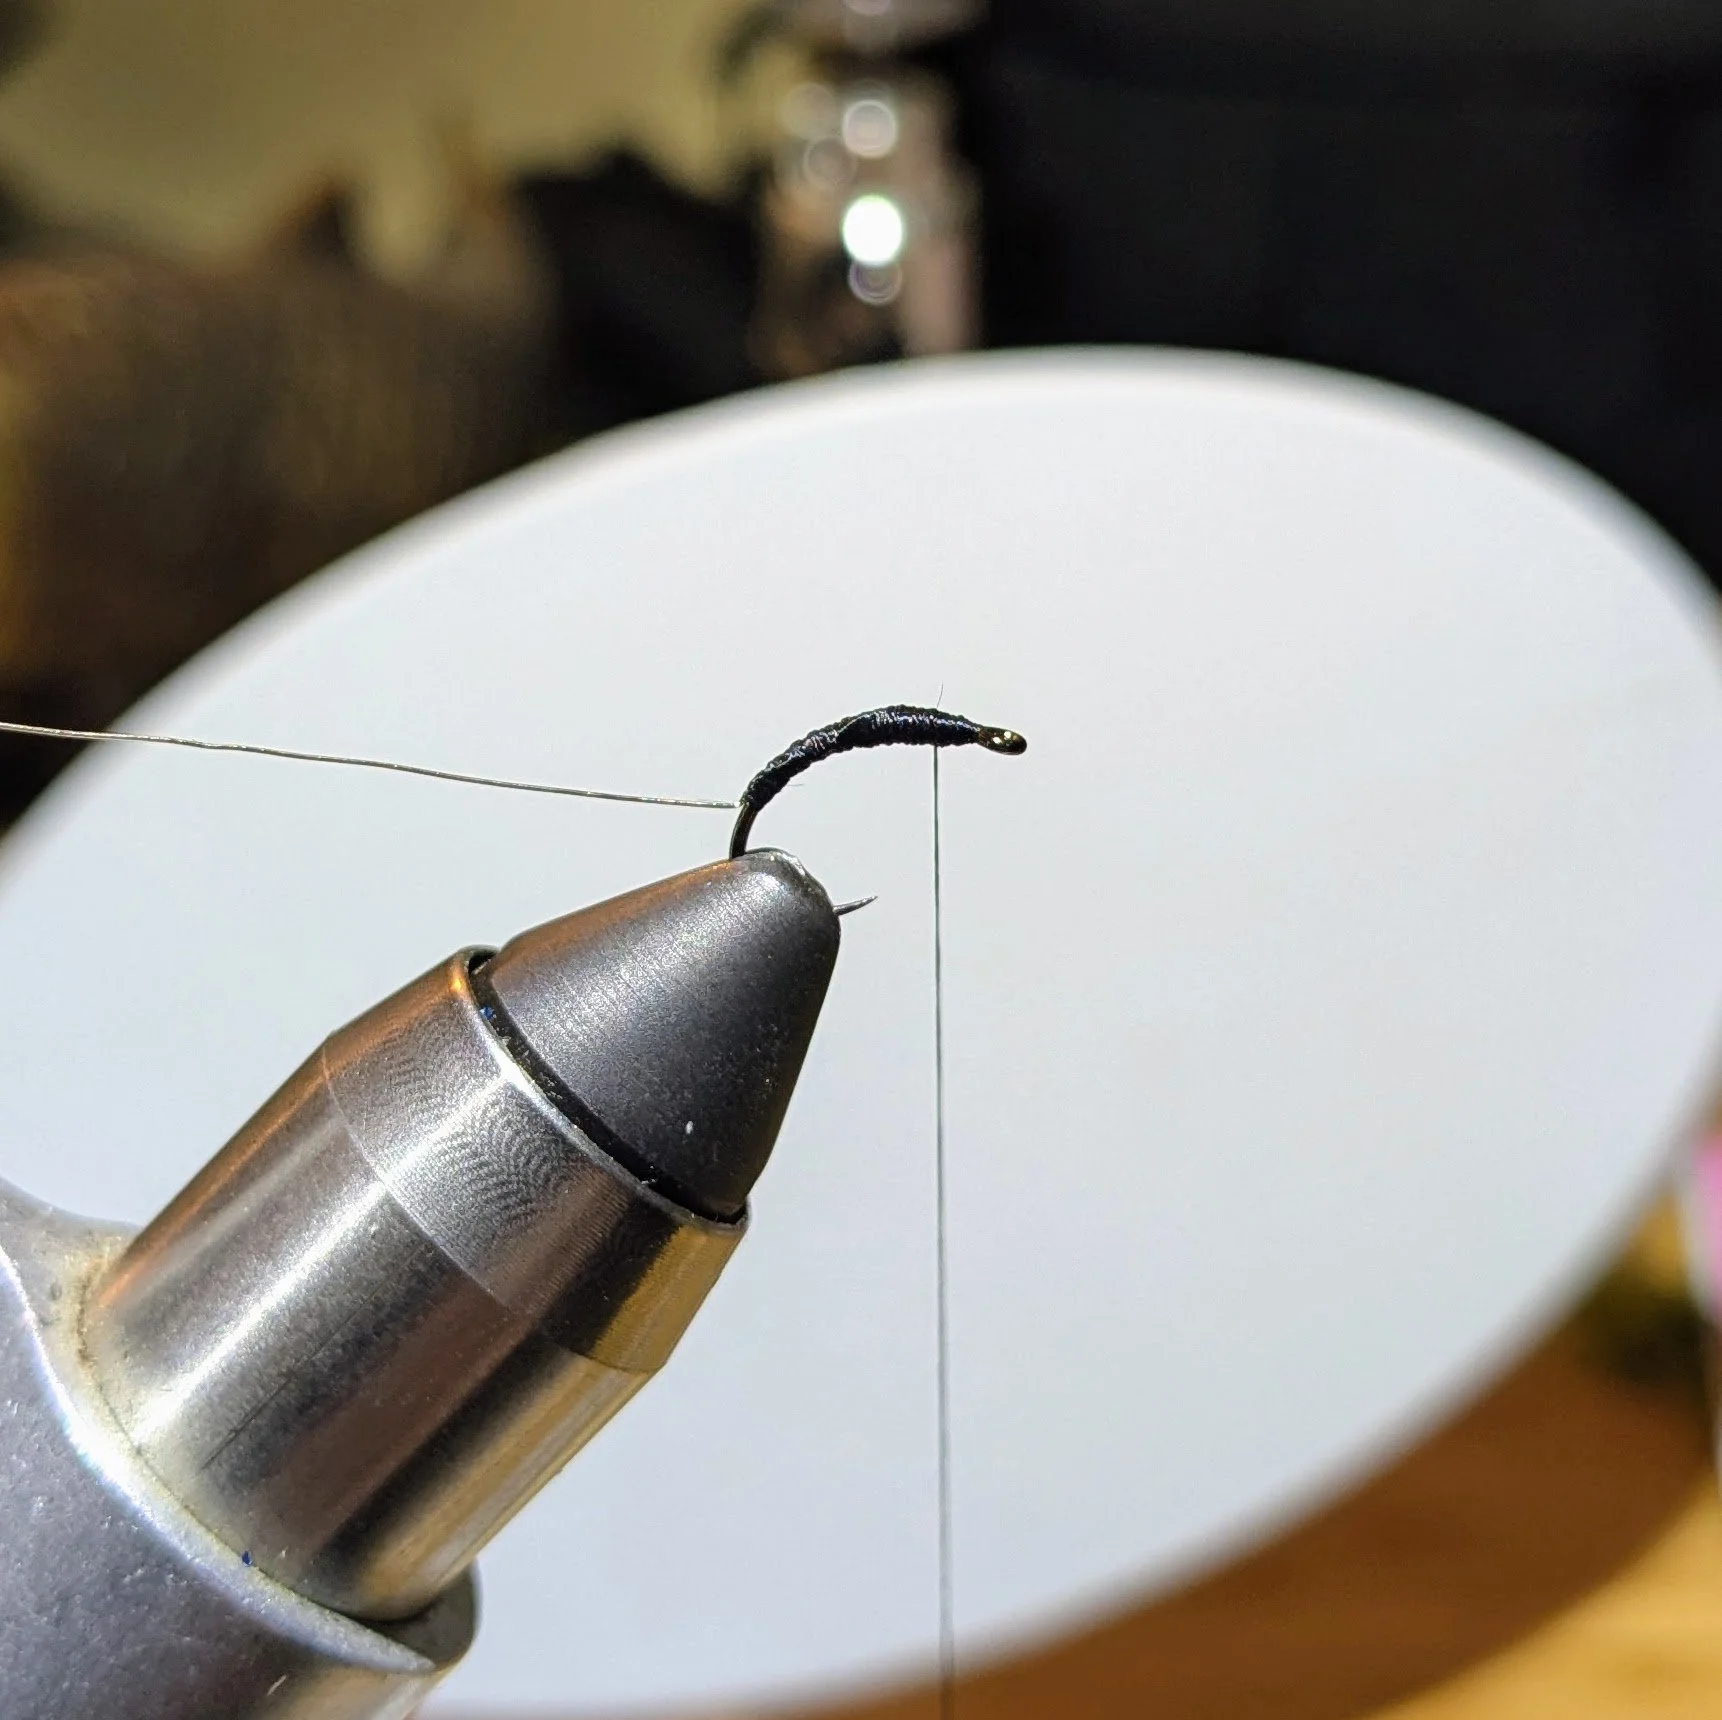
Attach the Wire Ribbing
Tie in a length of fine wire at the bend. This wire will simulate the segmented look of the midge larva and add durability.
Wrap the wire
Wrap the wire forward in evenly spaced turns to create segmented ribs. Secure the wire behind the bead or at the eye and trim any excess.
Finish the fly
Whip finish and trim the excess thread. Apply thin head cement to the thread for durability.
Tips for Success
Use fine wire for ribbing; thicker wire can look bulky and reduce the fly’s natural profile.
Experiment with bead colors to match local midge species or water conditions.
Try different thread colors—red is classic, but black or olive can be equally effective.
Add a tiny amount of epoxy on the body for extra durability if needed.